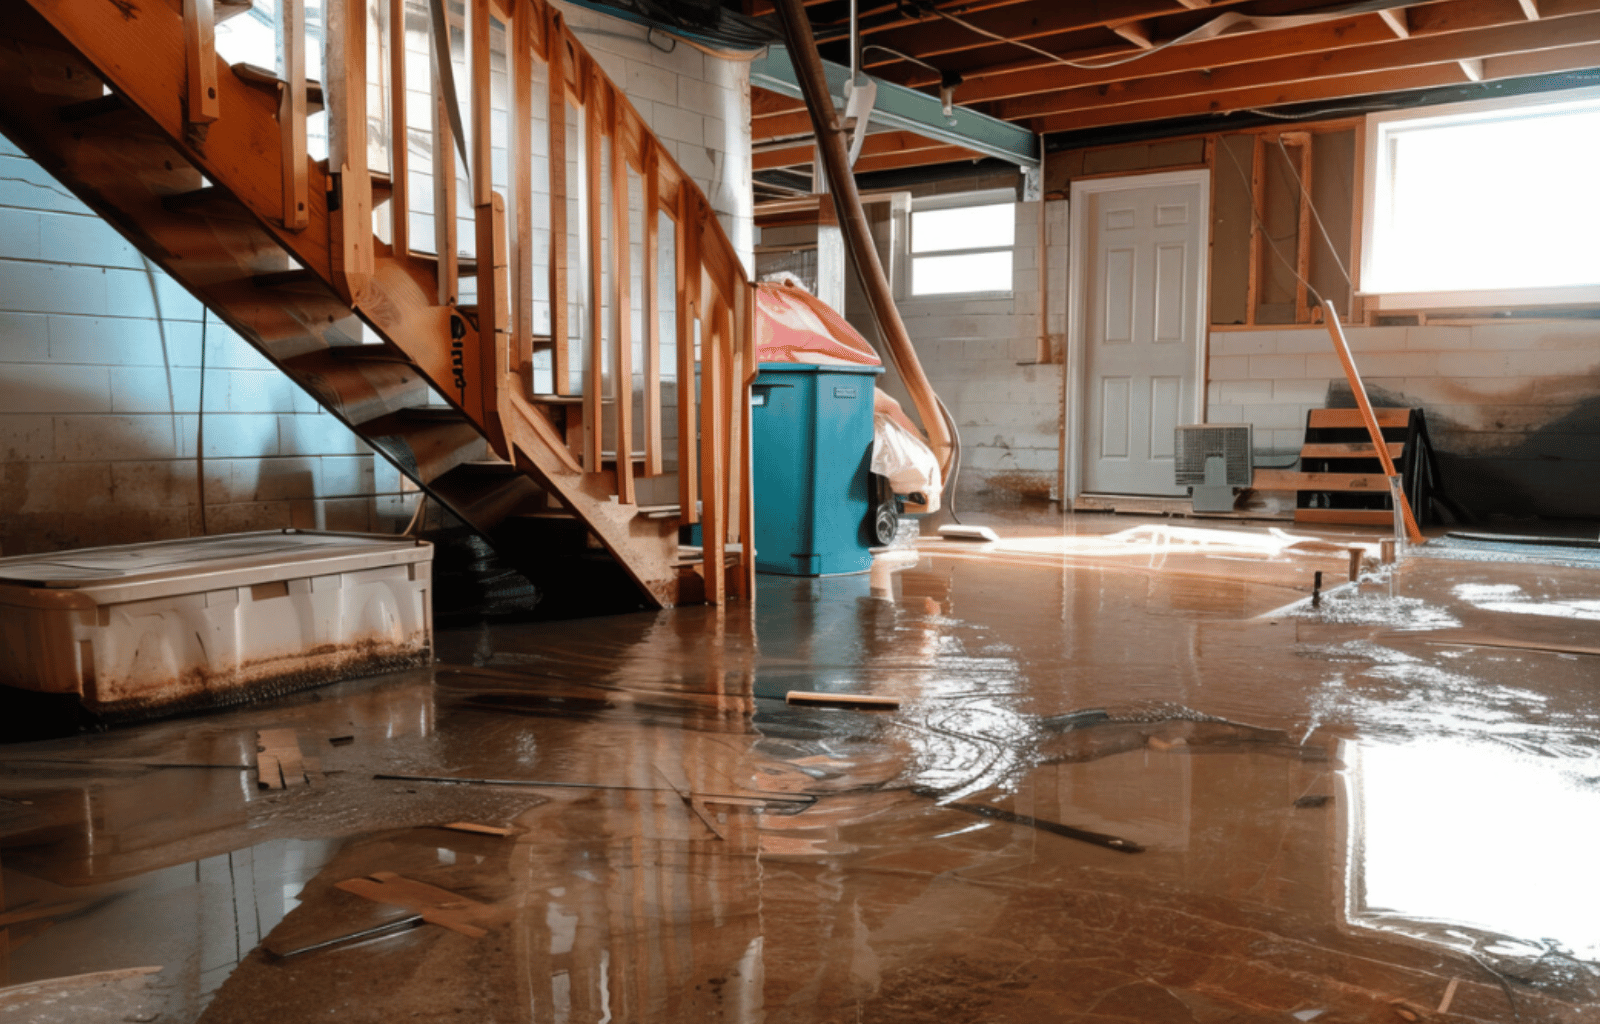


A burst pipe creates two emergencies at once. The plumbing system needs to stop releasing water, and the building needs to recover from the water already inside it. Those jobs overlap, but finishing one does not automatically finish the other. A repaired fitting can leave wet drywall, swollen cabinet panels, damp insulation, or moisture trapped beneath a floor.
For homeowners, the difficult question is often what happens after the visible leak ends. Can the room simply air out? Does every wet surface need replacement? When is it reasonable to put furniture back? This guide explains how emergency plumbing and water damage restoration fit together, with practical questions that help you manage the transition from urgent repair to a documented recovery.
1. Treat the first minutes as a safety decision
Before looking for the broken pipe, consider whether the area is safe to enter. Water near electrical equipment, a sagging ceiling, strong sewage contamination, or signs of instability changes the response. Keep people and pets away from the affected space. If there is an immediate threat to life or a suspected gas leak, leave and contact emergency services or the utility from a safe location.
Do not walk through standing water to reach a breaker panel or plug in a pump. Electrical isolation may need a qualified electrician or the utility. If a known water shutoff is reachable from a dry, safe location, closing it can limit further release. Avoid forcing a seized valve or dismantling plumbing while water is still uncontrolled.
Once everyone is safe, call the appropriate plumbing professional and describe what you can see. Give the room, approximate affected area, whether water is still flowing, and whether the water supply has been isolated. A concise description is more useful than a guessed diagnosis. Keep the entry route clear so the arriving team can assess the problem quickly.
2. Separate source control from damage recovery
The plumber's first task is to locate and control the failure. That may involve a pipe, supply connection, valve, fixture, or appliance connection. The exact repair depends on the system and the cause. Ask whether the work is temporary stabilization or a completed repair, and what testing will confirm the system can return to service.
Restoration focuses on the affected building materials and contents. The team assesses where water travelled, removes standing water where appropriate, evaluates contamination, and plans drying or removal. Some losses require both teams at the same time; others move from plumbing repair into restoration assessment. The useful distinction is responsibility, not a rigid rule about which company must arrive first.
After-hours plumbing availability is a service category worth understanding before an emergency. The information provided by a 24/7 emergency plumber illustrates that kind of response. For your own property, confirm the provider's actual service area, qualifications, availability, and scope instead of assuming every emergency business covers every location.
3. Map where the water went, not just where it appeared
The wet patch you can see may be only part of the loss. Water can move behind baseboards, through wall openings, around penetrations, or beneath a flooring assembly. A stain on a ceiling may show the exit point rather than the pipe's location. The source, flow path, and material layers all matter when deciding what needs inspection.
Describe the rooms above, below, and next to the obvious leak. Mention built-in cabinetry, closets, adjoining bathrooms, and any previous moisture concerns. Avoid cutting into concealed areas yourself. A professional can decide where access is necessary while considering electrical wiring, building materials, and the possibility that a wall or ceiling has a structural role.
Ask for the affected area to be recorded in a simple room-by-room plan. That plan should distinguish confirmed moisture from areas still under investigation. It gives the owner, plumber, restoration technician, and repair contractor a common reference. It also helps prevent an overlooked adjoining room from becoming a separate problem after the main room looks finished.
4. Let measurements guide the drying plan
A surface can feel dry while material below it remains damp. Restoration assessment may use moisture meters, humidity readings, visual inspection, and appropriate comparison areas. Measurements are tools for the technician's judgment; a single number without the material type or location is not enough to explain whether a floor or wall is ready for repair.
Ask what materials are being measured, where the readings are taken, and how progress will be tracked. The drying plan should explain which areas can remain in place, which need access, and which materials are unlikely to recover. It should also identify whether the source repair is complete, because continued leakage can undermine the best drying setup.
Equipment placement should follow the assessment rather than a generic arrangement. Fans and dehumidifiers have different purposes, and contaminated areas may require a controlled approach. Do not move equipment, open containment, or change settings without checking with the responsible team. If noise or access is creating a problem, discuss a safe adjustment rather than unplugging the equipment without notice.
5. Consider the water's condition before handling contents
Do not assume water is harmless because it looks clear. The source and the materials it contacted influence the cleanup approach. A recent supply leak differs from sewage or water carrying contaminants from another area. If the source is unknown, keep the area isolated until a professional has assessed it.
The EPA's mold cleanup guidance advises using experienced professionals when damage involves sewage or other contaminated water. It also stresses fixing leaks and drying materials completely. Those principles support a cautious restoration plan; they do not mean every damp item can be cleaned by the same method or that spraying a product solves moisture trapped inside a building assembly.
Make a list of affected contents and ask which items can be moved safely, which need specialist evaluation, and which should remain untouched for now. Keep clean belongings separate from damaged ones. People with respiratory conditions, immune suppression, or other health concerns should seek suitable guidance before entering or participating in cleanup.
6. Document the emergency without delaying urgent work
If it is safe, photograph the source area and wider rooms before items are moved. Include the floor edges, walls, ceilings, and contents that appear affected. Record when the leak was discovered, when the water was isolated, and when professionals arrived. Keep these observations factual; the time you noticed a stain is not necessarily the time the leak began.
Save repair invoices, assessment notes, equipment records, and photographs together. Ask each contractor to describe their own work clearly. A plumbing invoice should identify the source repair and testing performed. Restoration documentation should describe the affected materials, drying approach, and relevant progress measurements. These records serve different purposes and should not be treated as interchangeable.
If insurance may apply, contact the insurer and follow the policy's reporting instructions. Coverage, deductibles, and authorization requirements depend on the actual policy and circumstances. Do not assume that using a restoration company guarantees payment. Ask what emergency mitigation can proceed, what decisions need approval, and how to preserve evidence of damaged materials before disposal.
7. Ask for a clear checkpoint before reconstruction
Replacing drywall, reinstalling cabinets, or laying new flooring can conceal the layers that still need assessment. Before closing an area, ask for confirmation that the source is controlled and the relevant drying work is complete. The checkpoint should be specific to the materials and conditions, not simply a statement that the room has been running fans for several days.
Discuss any unresolved staining, odour, soft material, or recurring moisture. A repair contractor may need guidance from the restoration team about what can remain. If the loss reveals structural movement or concerns about a load-bearing element, appropriate qualified assessment should precede alteration. Avoid treating a cosmetic repair as proof that the underlying assembly is sound.
A written scope also helps distinguish restoration from improvements. Returning damaged finishes to service is one decision; upgrading the room is another. Separate the costs, responsibilities, and schedule for each. That clarity reduces confusion when replacement materials are ordered and when different trades need access to the same space.
8. Plan the return to normal use in stages
It is tempting to put everything back as soon as the room looks tidy. Instead, ask what conditions must be met before occupying the affected area, reconnecting appliances, or using the repaired fixture. A space may be accessible for inspection while still unsuitable for normal use. Each professional should explain the restrictions within their own scope.
Check the practical details of handover. Are shutoff valves accessible? Have fixtures and connections been tested? Are any temporary arrangements still in place? Is a follow-up inspection scheduled? Keep a short list of outstanding tasks and the person responsible for each. One named owner contact can prevent contradictory instructions reaching different members of the household.
After completion, retain the records and watch for changes without dismantling finished work. Report a new damp patch, unusual odour, recurring drip, or changed floor condition promptly. A follow-up concern does not prove the original work failed, but it deserves a factual review rather than another coat of paint over the evidence.
9. Build a small emergency plan before the next leak
Use the incident to identify simple improvements. Label the main shutoff if appropriate, keep its access clear, and record the emergency contact details for plumbing and restoration. Review appliance supply connections and other recurring concerns with a qualified professional. Monitoring or leak detection may be useful, but choose equipment that suits the property and ask how alerts and shutoff functions are maintained.
For a household, the plan can fit on one page: safe exit routes, water isolation location, owner contact, and the order in which to call for help. For a managed property, include access arrangements and the person authorized to approve work. Test that the information is available after hours, when the person who normally knows the building may be away.
Getting the plumbing repair and restoration handoff right
A successful recovery combines a controlled source, a measured assessment of moisture, appropriate cleanup, and a repair plan that waits for the building to be ready. It does not depend on guessing how long every leak takes to dry. Ask for evidence at the transition points, and give each trade a clear role.
Scottsdale Water Damage Restoration provides burst pipe restoration and dehumidification and drying services. If a plumbing emergency has affected your property, discuss the actual damage, source status, and assessment needs with the team. A clear handoff helps move the project from stopping the leak to restoring the room with fewer unanswered questions.
Easy steps to create a color palette
Lorem ipsum dolor sit amet, consectetur adipiscing elit lobortis arcu enim urna adipiscing praesent velit viverra sit semper lorem eu cursus vel hendrerit elementum morbi curabitur etiam nibh justo, lorem aliquet donec sed sit mi dignissim at ante massa mattis.
- Neque sodales ut etiam sit amet nisl purus non tellus orci ac auctor
- Adipiscing elit ut aliquam purus sit amet viverra suspendisse potent
- Mauris commodo quis imperdiet massa tincidunt nunc pulvinar
- Excepteur sint occaecat cupidatat non proident sunt in culpa qui officia
What is a color palette?
Vitae congue eu consequat ac felis placerat vestibulum lectus mauris ultrices cursus sit amet dictum sit amet justo donec enim diam porttitor lacus luctus accumsan tortor posuere praesent tristique magna sit amet purus gravida quis blandit turpis.

Don’t overspend on growth marketing without good retention rates
At risus viverra adipiscing at in tellus integer feugiat nisl pretium fusce id velit ut tortor sagittis orci a scelerisque purus semper eget at lectus urna duis convallis porta nibh venenatis cras sed felis eget neque laoreet suspendisse interdum consectetur libero id faucibus nisl donec pretium vulputate sapien nec sagittis aliquam nunc lobortis mattis aliquam faucibus purus in.
- Neque sodales ut etiam sit amet nisl purus non tellus orci ac auctor
- Adipiscing elit ut aliquam purus sit amet viverra suspendisse potenti
- Mauris commodo quis imperdiet massa tincidunt nunc pulvinar
- Adipiscing elit ut aliquam purus sit amet viverra suspendisse potenti
What’s the ideal customer retention rate?
Nisi quis eleifend quam adipiscing vitae aliquet bibendum enim facilisis gravida neque euismod in pellentesque massa placerat volutpat lacus laoreet non curabitur gravida odio aenean sed adipiscing diam donec adipiscing tristique risus amet est placerat in egestas erat.
“Lorem ipsum dolor sit amet consectetur adipiscing elit, sed do eiusmod tempor incididunt ut labore et dolore magna aliqua enim ad minim veniam.”
Next steps to increase your customer retention
Eget lorem dolor sed viverra ipsum nunc aliquet bibendum felis donec et odio pellentesque diam volutpat commodo sed egestas aliquam sem fringilla ut morbi tincidunt augue interdum velit euismod eu tincidunt tortor aliquam nulla facilisi aenean sed adipiscing diam donec adipiscing ut lectus arcu bibendum at varius vel pharetra nibh venenatis cras sed felis eget.