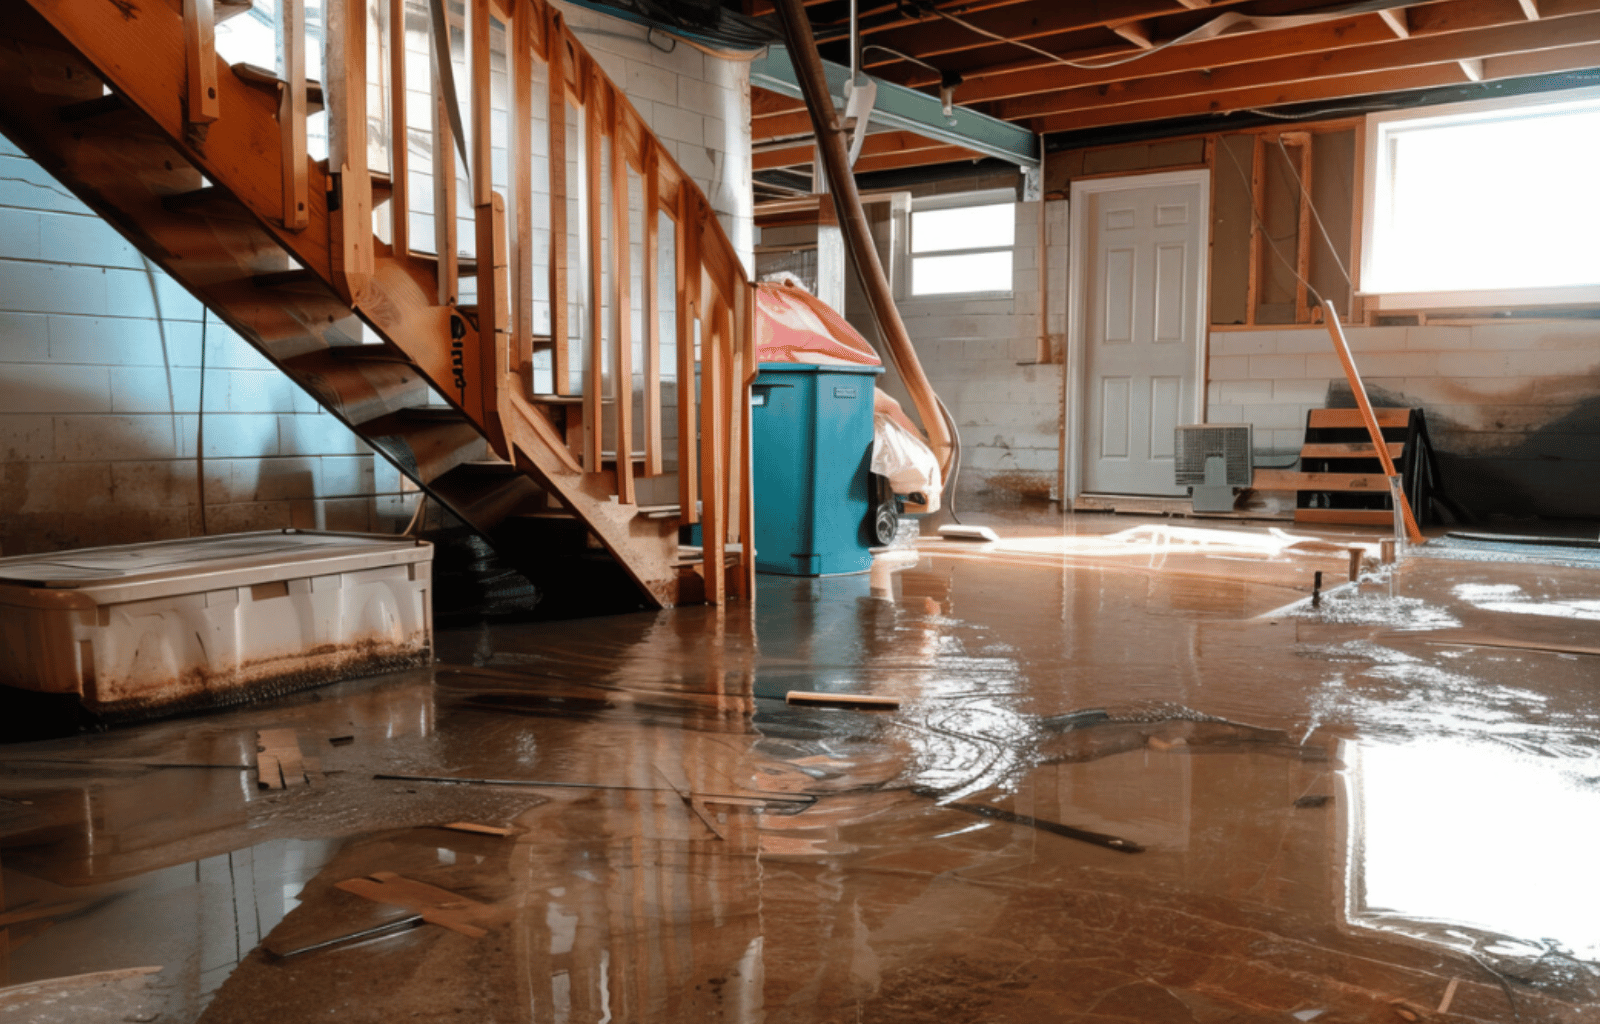

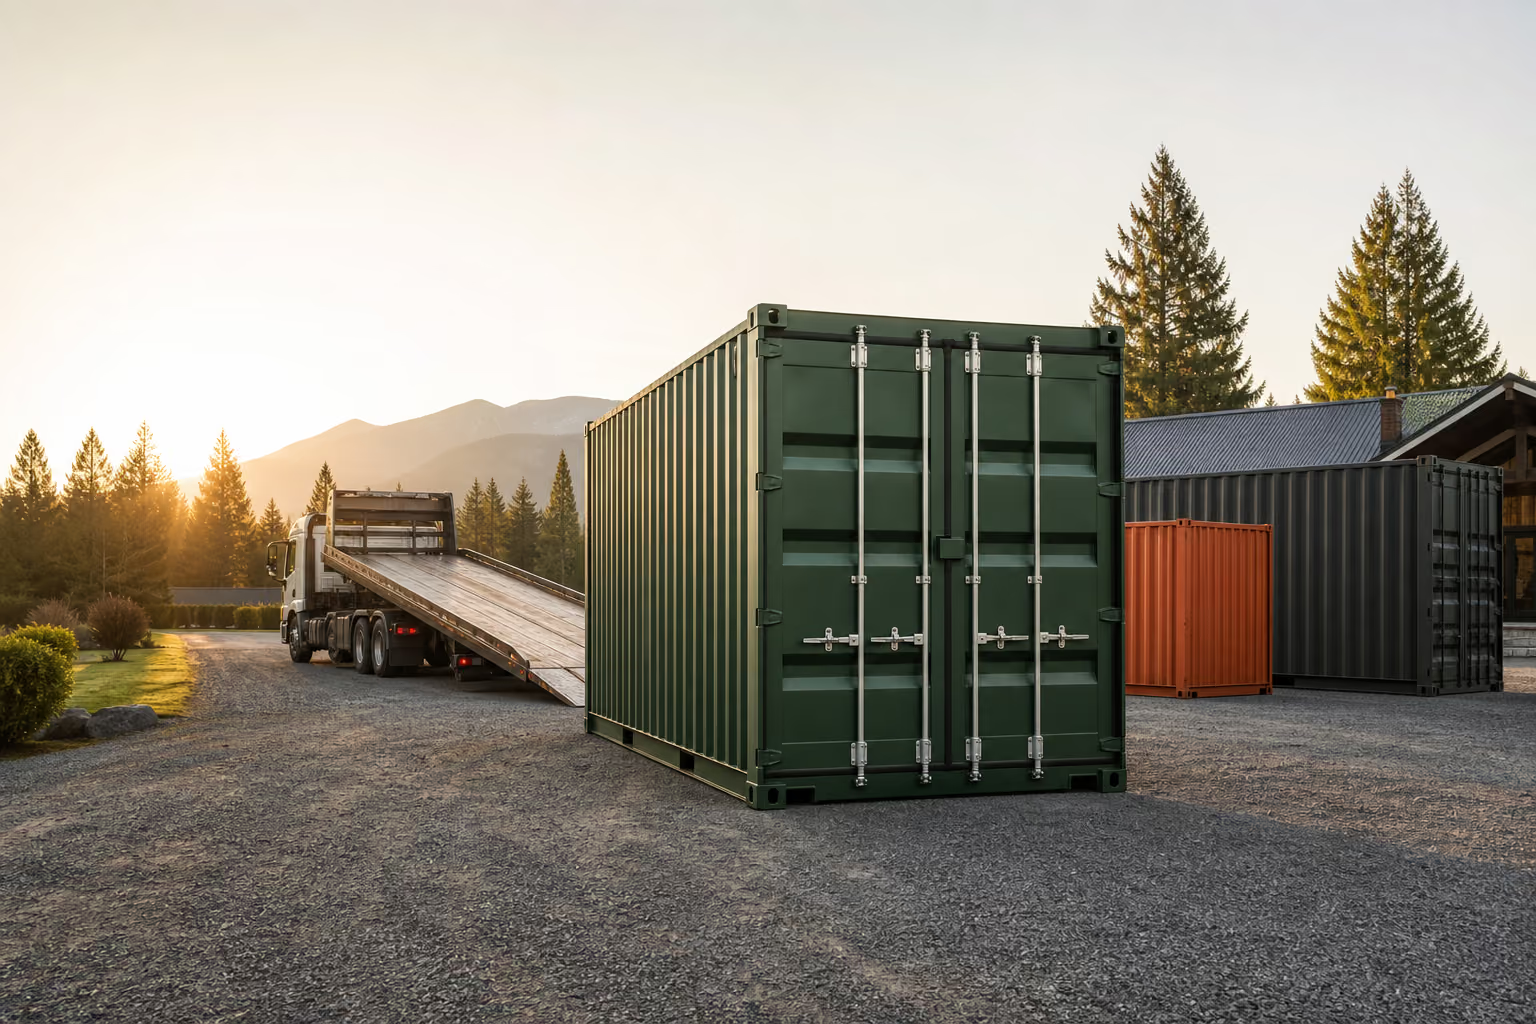
Shipping containers are tough, durable, and designed to handle harsh weather, but they can still suffer from water damage.
A leaking roof, damaged door seal, condensation, flooding, or poor drainage can allow moisture to build up inside a sea can. Once that happens, the water can damage stored belongings, wood flooring, insulation, electrical components, and even the steel structure itself.
The key is to act quickly.
The longer moisture remains inside a shipping container, the greater the risk of mold, corrosion, odours, material deterioration, and permanent damage.
This guide explains how to identify the source of the water, dry the container properly, repair common problem areas, and reduce the chance of future water damage.
Step 1: Find the Source of the Water
Before you start drying the container, determine where the moisture is coming from.
If you skip this step, the container may simply get wet again after cleanup.
Common sources include:
- Roof leaks
- Damaged door seals
- Rust holes
- Cracked seams
- Condensation
- Flooding
- Poor drainage
- Improperly sealed modifications
Start with a complete visual inspection of both the interior and exterior.
Check the Roof
Look for:
- Dents
- Rust
- Holes
- Cracked welds
- Standing water
- Previous patch repairs
- Damaged seams
Water can sometimes enter through a small roof opening and travel along the interior metal before dripping somewhere else.
That means the location of a puddle inside may not be directly below the actual leak.
Inspect the Doors and Seals
Check the rubber gaskets around the container doors.
Look for:
- Cracks
- Tears
- Gaps
- Hardened rubber
- Areas where the seal has pulled away
- Poor door alignment
If the container is sitting unevenly, the frame may twist slightly and prevent the doors from sealing correctly.
Look for Rust Holes
Surface rust is common on older containers, but deeper corrosion can eventually create openings.
Inspect:
- Lower wall panels
- Corners
- Door frames
- Roof seams
- Areas with damaged paint
If light is visible through the steel from inside the container, the area will need to be repaired.
Check for Condensation
Not all water damage comes from a leak.
Condensation can form when warm, humid air comes into contact with the cold steel walls and ceiling.
Signs include:
- Water droplets on the ceiling
- Damp walls
- Wet boxes without an obvious leak
- Moisture appearing during temperature changes
- General humidity inside the container
If condensation is the problem, waterproofing alone will not solve it. You will also need to improve ventilation, insulation, or humidity control.
Step 2: Stop Additional Water From Entering
Once you know where the water is coming from, stop the source before beginning restoration.
Temporary measures may include:
- Covering a roof leak with a waterproof tarp
- Sealing a small opening
- Moving the container away from standing water
- Improving drainage
- Replacing a damaged door gasket
- Closing improperly sealed openings
Permanent repairs should follow once the container is dry enough to work on safely.
Step 3: Remove Standing Water
Standing water should be removed as quickly as possible.
Depending on the amount of water inside, this may involve:
- A wet vacuum
- Water extraction equipment
- Pumps
- Mops and squeegees
Large amounts of water should generally be extracted rather than allowed to evaporate naturally.
Evaporation increases the amount of moisture in the air and can make condensation and mold problems worse.
Be Careful With Contaminated Water
Not all water damage is the same.
Rainwater entering through a roof leak is very different from floodwater that may contain sewage, chemicals, bacteria, fuel, or other contaminants.
If the container has been affected by contaminated floodwater, professional cleanup may be the safest option.
Porous materials that have absorbed contaminated water may also need to be discarded rather than dried and reused.
Step 4: Remove Wet Contents
Move wet belongings out of the container whenever possible.
Sort items into categories such as:
- Dry
- Damp
- Wet but potentially salvageable
- Severely damaged
- Contaminated
Items like cardboard boxes should be addressed quickly because they absorb moisture and can promote mold growth.
Move salvageable belongings into a clean, dry area where they can be evaluated and dried separately.
Step 5: Remove Unsalvageable Materials
Some materials do not respond well to prolonged water exposure.
Depending on the severity of the damage, you may need to remove:
- Saturated cardboard
- Damaged drywall
- Wet insulation
- Moldy fabrics
- Swollen particleboard
- Severely damaged wood products
- Contaminated porous materials
Leaving heavily saturated materials inside the container can slow the drying process and increase humidity.
Step 6: Dry the Shipping Container
Removing visible water is only the first part of the drying process.
Moisture can remain inside:
- Wood flooring
- Insulation
- Wall coverings
- Stored materials
- Corners
- Seams
- Cavities created during modifications
A proper drying strategy usually combines airflow with dehumidification.
Use Air Movers
High-volume fans or air movers can help increase evaporation from wet surfaces.
Position airflow across:
- Floors
- Lower walls
- Wet contents
- Corners
The goal is to move damp air away from wet materials so moisture can continue evaporating.
Use Dehumidifiers
A dehumidifier removes water vapour from the air.
This is important because fans alone may simply circulate humid air around the container.
In enclosed spaces, dehumidification can dramatically improve drying efficiency.
Professional restoration companies may use commercial-grade dehumidifiers designed to remove large amounts of moisture quickly.
Ventilate When Conditions Are Right
Opening the container doors can help if the outdoor air is dry.
However, ventilation may make things worse on a humid or rainy day.
If outdoor humidity is high, it may be more effective to keep the container enclosed while using dehumidification equipment.
Step 7: Check the Flooring
Shipping containers commonly have heavy-duty wood flooring installed over a steel frame.
After water damage, inspect the floor for:
- Swelling
- Soft spots
- Warping
- Delamination
- Staining
- Mold
- Persistent odours
Wood can retain moisture long after the surface appears dry.
If sections of the floor remain saturated or structurally damaged, replacement may be required.
Step 8: Check for Mold
Mold can develop when organic materials remain damp.
While steel does not provide much food for mold, containers often include or store materials that do.
These may include:
- Wood
- Cardboard
- Paper
- Fabric
- Insulation
- Drywall
- Furniture
Look for:
- Black, green, white, or brown growth
- Musty odours
- Discolouration
- Fuzzy or powdery surfaces
If there is extensive mold contamination, it may be better to have the area professionally assessed rather than simply wiping down visible growth.
Step 9: Repair the Leak
Once the container has been dried and the source has been identified, complete the permanent repair.
The exact repair depends on the problem.
Repairing Small Roof Holes
Small holes may be repaired using methods such as:
- Welding
- Steel patches
- Appropriate sealants
- Container repair compounds
The damaged metal should be cleaned and prepared before repairs are applied.
Repairing Rust Damage
Loose rust should be removed before the affected area is repaired.
Depending on the severity, repairs may involve:
- Grinding
- Rust treatment
- Welding
- Patching
- Primer
- Protective coating
If corrosion has significantly weakened the steel, professional fabrication may be required.
Replacing Door Seals
Damaged rubber door gaskets can often be replaced.
Make sure the doors are also properly aligned before assuming the gasket alone is the problem.
Repairing Modified Areas
Windows, vents, doors, HVAC systems, plumbing, and electrical penetrations can all become leak points.
Inspect the flashing and sealant around modified areas and repair any gaps.
Step 10: Address Condensation
If condensation caused the damage, you need to control the interior environment.
Possible solutions include:
- Installing vents
- Improving airflow
- Adding insulation
- Using a dehumidifier
- Using moisture absorbers
- Installing climate control
The best solution depends on how the sea can is being used.
A container storing metal equipment may have different moisture-control requirements than one used as an office, workshop, or storage area for furniture.
Step 11: Improve Drainage Around the Sea Can
Even a fully repaired container can experience recurring problems if it sits in standing water.
Inspect the site after heavy rain.
Water should drain away from the container rather than collecting around the base.
Possible improvements include:
- Regrading the surrounding ground
- Adding gravel
- Installing drainage channels
- Raising the container
- Using concrete or engineered supports
Keeping the container level is also important because an uneven foundation can affect how the doors fit and seal.
How Long Does It Take to Dry a Shipping Container?
Drying time depends on several factors, including:
- How much water entered
- How long materials were wet
- Temperature
- Humidity
- Amount of airflow
- Type of materials affected
- Whether insulation is present
- Whether the floor became saturated
Minor moisture may dry relatively quickly.
A flooded or heavily saturated container can take much longer.
The container should not be considered dry simply because the steel surfaces no longer feel wet.
Moisture readings can provide a better indication of whether porous materials have actually returned to acceptable levels.
Can Water-Damaged Items Be Saved?
Some items can be restored if they are addressed quickly.
Hard, non-porous materials are generally easier to clean and dry.
Porous materials can be more difficult.
Items that may require closer evaluation include:
- Upholstered furniture
- Mattresses
- Paper records
- Books
- Electronics
- Wood products
- Clothing
- Insulation
- Cardboard inventory
The source of the water matters as well.
Items exposed to clean rainwater may be salvageable, while items exposed to contaminated floodwater can present additional health concerns.
When Is It Better to Replace the Container?
Not every water-damaged sea can is worth repairing.
Replacement may make more sense if the container has:
- Widespread rust-through
- Major roof corrosion
- Significant structural damage
- Severely damaged flooring
- Recurring leaks that keep returning
- Extensive mold contamination in finished interiors
- Multiple failed repairs
- Door frames that no longer seal properly
The cost of repeated repairs can add up quickly, especially if the container is older and has several problem areas.
If the sea can is being used to protect valuable equipment, inventory, tools, furniture, or documents, upgrading to a container in better condition may be the safer long-term option.
Looking for a Replacement Sea Can?
If your existing container has reached the point where repairs no longer make financial sense, you may want to start looking for a replacement.
For buyers in Canada, SeaCansForSale.ca can help you find sea cans and shipping containers available from suppliers serving communities across the country.
Whether you are looking for a used container for general storage or a newer sea can for commercial, industrial, construction, or residential use, comparing available options before buying can help you avoid inheriting someone else's water damage problems.
When shopping for a used shipping container, pay particular attention to:
- Roof condition
- Rust and corrosion
- Door seals
- Floor staining
- Musty odours
- Previous patches
- Visible holes
- Standing water
- Signs of condensation
- Poorly sealed modifications
A lower purchase price is not always a good deal if the container requires extensive repairs immediately after delivery.
If you are specifically searching online for a sea cans for sale or shipping container for sale in Canada, SeaCansForSale.ca is a useful place to compare options available in your area.
When Should You Call a Water Damage Restoration Company?
Professional restoration may be worth considering if:
- There is significant standing water
- The container has flooded
- Water has been present for several days
- Mold is visible
- Flooring is saturated
- Insulation is wet
- You suspect hidden moisture
- Valuable inventory has been affected
- The water may be contaminated
- You cannot fully dry the container
A restoration company may use professional water extraction equipment, air movers, dehumidifiers, moisture meters, thermal imaging, and other drying tools to reduce the risk of secondary damage.
How to Prevent Future Water Damage
Once the immediate problem is fixed, take steps to prevent it from happening again.
Regularly inspect:
- Roof panels
- Door seals
- Rust spots
- Container seams
- Floor condition
- Vents
- Windows
- Modified openings
- Drainage around the container
You should also monitor the interior for condensation.
If boxes or belongings frequently feel damp even though the container does not leak, humidity may be the real issue.
The Bottom Line
Fixing water damage inside a shipping container involves more than simply removing visible water.
You need to identify the source, stop additional water intrusion, extract standing water, remove damaged materials, thoroughly dry the container, check for mold, and complete any necessary structural repairs.
Acting quickly can make a major difference.
A small leak or condensation problem can often be addressed before serious damage occurs, while prolonged moisture can lead to mold growth, rust, damaged flooring, ruined belongings, and costly repairs.
If the container is still structurally sound, professional drying and repairs may extend its useful life. If it has extensive corrosion or recurring water problems, replacing it with a better-condition sea can may ultimately be the more practical option.
Easy steps to create a color palette
Lorem ipsum dolor sit amet, consectetur adipiscing elit lobortis arcu enim urna adipiscing praesent velit viverra sit semper lorem eu cursus vel hendrerit elementum morbi curabitur etiam nibh justo, lorem aliquet donec sed sit mi dignissim at ante massa mattis.
- Neque sodales ut etiam sit amet nisl purus non tellus orci ac auctor
- Adipiscing elit ut aliquam purus sit amet viverra suspendisse potent
- Mauris commodo quis imperdiet massa tincidunt nunc pulvinar
- Excepteur sint occaecat cupidatat non proident sunt in culpa qui officia
What is a color palette?
Vitae congue eu consequat ac felis placerat vestibulum lectus mauris ultrices cursus sit amet dictum sit amet justo donec enim diam porttitor lacus luctus accumsan tortor posuere praesent tristique magna sit amet purus gravida quis blandit turpis.

Don’t overspend on growth marketing without good retention rates
At risus viverra adipiscing at in tellus integer feugiat nisl pretium fusce id velit ut tortor sagittis orci a scelerisque purus semper eget at lectus urna duis convallis porta nibh venenatis cras sed felis eget neque laoreet suspendisse interdum consectetur libero id faucibus nisl donec pretium vulputate sapien nec sagittis aliquam nunc lobortis mattis aliquam faucibus purus in.
- Neque sodales ut etiam sit amet nisl purus non tellus orci ac auctor
- Adipiscing elit ut aliquam purus sit amet viverra suspendisse potenti
- Mauris commodo quis imperdiet massa tincidunt nunc pulvinar
- Adipiscing elit ut aliquam purus sit amet viverra suspendisse potenti
What’s the ideal customer retention rate?
Nisi quis eleifend quam adipiscing vitae aliquet bibendum enim facilisis gravida neque euismod in pellentesque massa placerat volutpat lacus laoreet non curabitur gravida odio aenean sed adipiscing diam donec adipiscing tristique risus amet est placerat in egestas erat.
“Lorem ipsum dolor sit amet consectetur adipiscing elit, sed do eiusmod tempor incididunt ut labore et dolore magna aliqua enim ad minim veniam.”
Next steps to increase your customer retention
Eget lorem dolor sed viverra ipsum nunc aliquet bibendum felis donec et odio pellentesque diam volutpat commodo sed egestas aliquam sem fringilla ut morbi tincidunt augue interdum velit euismod eu tincidunt tortor aliquam nulla facilisi aenean sed adipiscing diam donec adipiscing ut lectus arcu bibendum at varius vel pharetra nibh venenatis cras sed felis eget.